“A common misconception most people have is that launch power for a punch comes from strong arms,” he says. “But it’s actually the ability to generate power from your legs, from the speed and power of rotation through your hips and core, and then ultimately the extension of your arms that creates a strong punch.”
Translation: Core strength is integral to generating the force necessary for boxing (whether you’re a casual kickboxer or a serious competitor). And a strong core isn’t just beneficial in the ring; it’s important outside of it too. “Poor core strength can lead to back, lower back, neck, and even knee pain,” Neiman says. So to keep you in top shape on and off the ropes, we collected 12 abs exercises borrowed from boxers that’ll help you build serious core strength.
How to use this list: Start by performing each exercise below for 30 seconds. Use the modifications or progressions listed, if applicable, to better suit your personal strength. Build up to 60 seconds each. Perform each move with no rest in between for a killer 12-minute workout or scroll down to try our 12-minute, 4-move sample workout below. You can substitute any exercise in this list for another in the workout. Grab an exercise mat to get started.
Inchworm Push-Up

Share on Pinterest
Stand with feet shoulder-width apart. Hinge at hips to bend over and touch floor with hands, then walk hands out to high plank position. Keeping elbows close to sides, bend elbows and lower chest to floor. Push back up, then walk hands back toward feet. Repeat. Make it easier: Drop to knees for the push-up then return to plank.
Stand with feet shoulder-width apart. Hinge at hips to bend over and touch floor with hands, then walk hands out to high plank position. Keeping elbows close to sides, bend elbows and lower chest to floor. Push back up, then walk hands back toward feet. Repeat. Make it easier: Drop to knees for the push-up then return to plank.
Sit-Up With One-Two Punch

Share on Pinterest
Lie faceup on mat, knees bent, feet flat on the floor in front of you. Keeping feet planted, engage core and use abdominal muscles to sit up while keeping hands in fists in guard in front of face. At the top, throw a right and left punch, then slowly lower back down one vertebrae at a time to return to starting position. Repeat. Make it harder: Add 16-ounce gloves or a light set of hand weights.
Lie faceup on mat, knees bent, feet flat on the floor in front of you. Keeping feet planted, engage core and use abdominal muscles to sit up while keeping hands in fists in guard in front of face. At the top, throw a right and left punch, then slowly lower back down one vertebrae at a time to return to starting position. Repeat. Make it harder: Add 16-ounce gloves or a light set of hand weights.
Walking Plank

Share on Pinterest
Start in high plank position, hands directly under shoulders, legs extended out behind you, core engaged to keep body in straight line from head to toe. Lift up right hand and lower right forearm to the floor. Do the same with left hand and forearm. Then lift right forearm and place right hand back on ground, followed by the left hand. Continue repeating. Make it harder: Place a BOSU ball underneath your forearms to challenge your stability.
V-Up

Share on Pinterest
Lie faceup on mat, legs extended straight, arms extended overhead. Keeping core engaged, sit up, lifting arms and legs simultaneously toward each other, so body forms a V shape. Slowly lower back down until arms and legs are two inches above ground. Repeat.
Plank Jack
Lie faceup on mat, legs extended straight, arms extended overhead. Keeping core engaged, sit up, lifting arms and legs simultaneously toward each other, so body forms a V shape. Slowly lower back down until arms and legs are two inches above ground. Repeat.
Plank Jack

Share on Pinterest
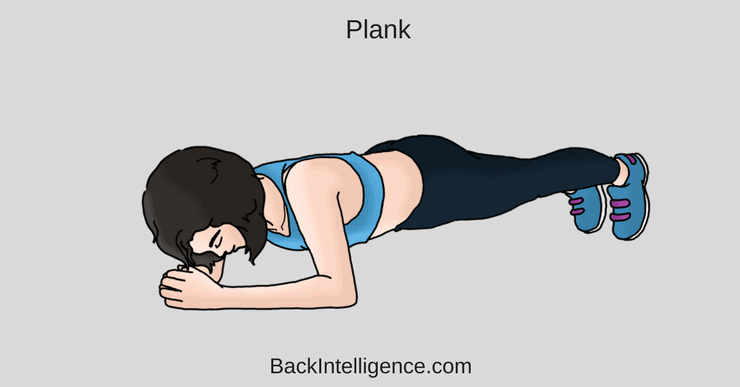
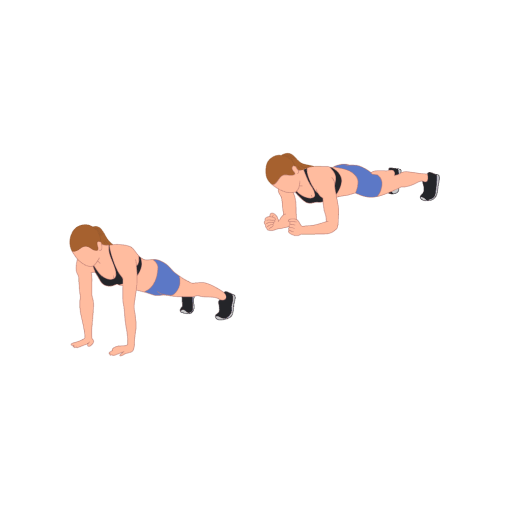
Start in a forearm plank, elbows directly under shoulders, core engaged so body forms a straight line from head to toe. Without moving upper body, jump feet apart, then back together. Continue jumping.Make it harder: Increase your speed.
Start in a forearm plank, elbows directly under shoulders, core engaged so body forms a straight line from head to toe. Without moving upper body, jump feet apart, then back together. Continue jumping.Make it harder: Increase your speed.
Sprinter Crunch

Share on Pinterest
Lie faceup on mat, legs extended out in front of you, hands up in guard. Keeping core tight, sit up and twist toward left while simultaneously bringing left knee to right elbow. Lower back down to starting position. Repeat on other side. Continue alternating.
Lie faceup on mat, legs extended out in front of you, hands up in guard. Keeping core tight, sit up and twist toward left while simultaneously bringing left knee to right elbow. Lower back down to starting position. Repeat on other side. Continue alternating.
Straight Leg Scissor

Share on Pinterest
Sit on mat, legs extended straight out in front of you. Lean torso back and place fingertips on floor next to hips for support. Keeping legs straight NS core engaged, lift right leg toward ceiling. Lower, then lift left leg toward ceiling. Continue alternating. Make it harder: Add ankle weights.
Sit on mat, legs extended straight out in front of you. Lean torso back and place fingertips on floor next to hips for support. Keeping legs straight NS core engaged, lift right leg toward ceiling. Lower, then lift left leg toward ceiling. Continue alternating. Make it harder: Add ankle weights.
Push-Up to Superman

Share on Pinterest
Start in high plank position, hands slightly wider than shoulder-width apart, body in straight line from head to toe. Bend at elbows to lower chest to floor to perform a push-up. Release hands, pull shoulder blades together, and lift chest, arms, and legs off mat. Lower down, place hands on ground, and push back up to plank position. Repeat.
Start in high plank position, hands slightly wider than shoulder-width apart, body in straight line from head to toe. Bend at elbows to lower chest to floor to perform a push-up. Release hands, pull shoulder blades together, and lift chest, arms, and legs off mat. Lower down, place hands on ground, and push back up to plank position. Repeat.
Russian Twist

Share on Pinterest
Sit on mat with knees bent, feet on floor in front of you about hip-width apart. Engage core, lean back about 45 degrees, and bring fists up to chest with elbows out. Twist at waist to tap right elbow to the mat on right side, then left elbow to mat on left side. Continue alternating. Make it harder: Grab a medicine ball or kettlebell in the weight of your choice and hold at chest.
Shoulder Tap

Share on Pinterest
Start in high plank position, hands directly under shoulders, body in straight line from head to toe. Without shifting weight and keeping body still, lift right hand and tap left shoulder, then lift left hand and tap right shoulder. Continue alternating as fast as possible.
Reverse Oblique Crunch
Start in high plank position, hands directly under shoulders, body in straight line from head to toe. Without shifting weight and keeping body still, lift right hand and tap left shoulder, then lift left hand and tap right shoulder. Continue alternating as fast as possible.
Reverse Oblique Crunch
Share on Pinterest
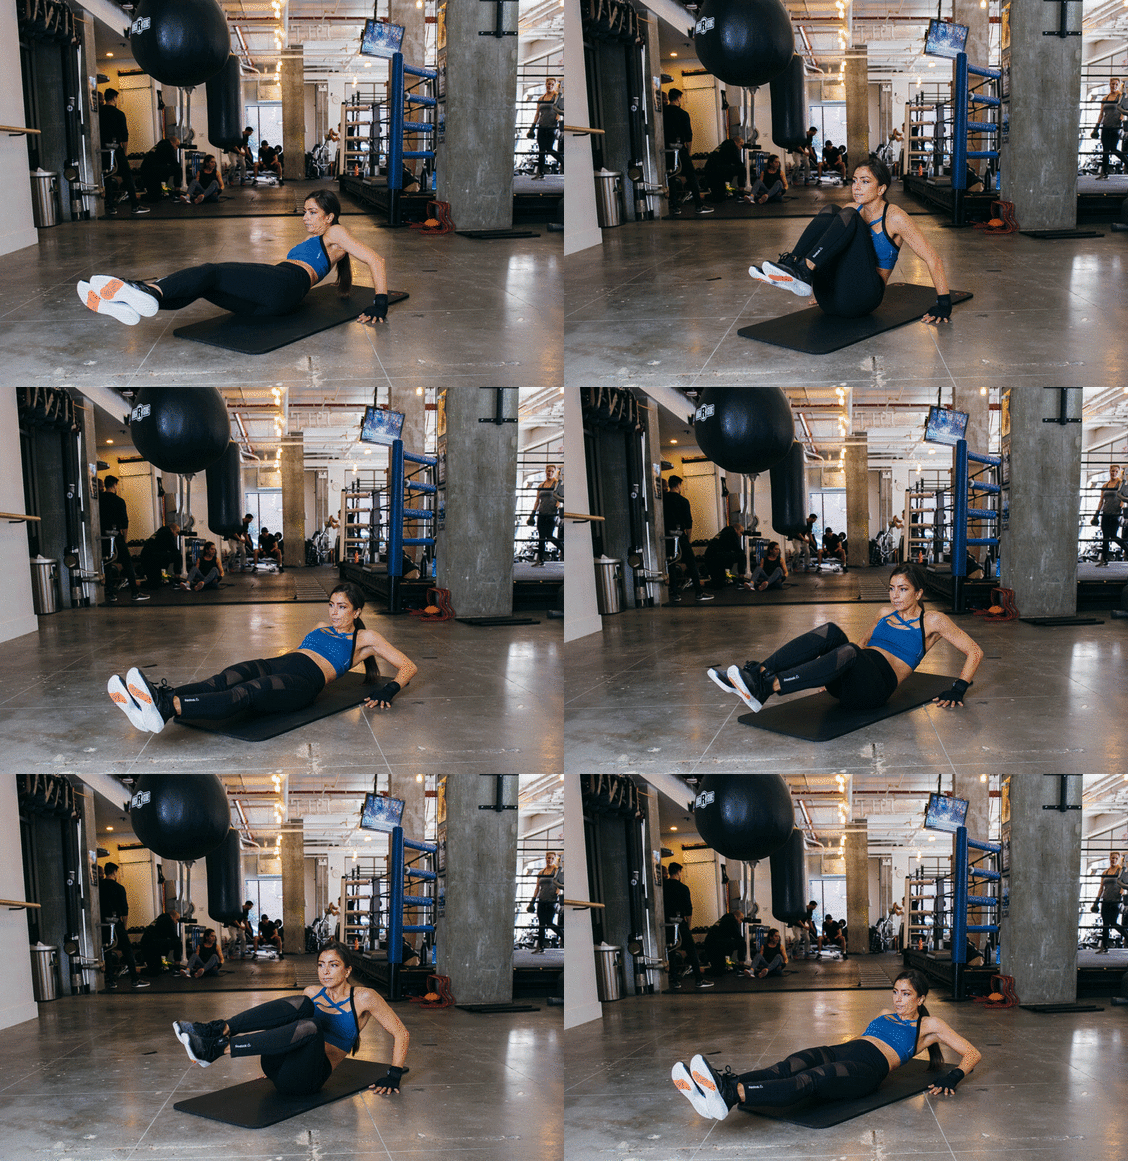
Start sitting on mat, legs extended out in front of you, hands on mat behind you. Lean back slightly onto fingertips for balance and lift legs two inches off floor. Keeping core tight, twist at the waist and bring bent knees toward chest, then extend back out (don’t drop legs to mat). Twist to the other side and repeat. Continue alternating.
Start sitting on mat, legs extended out in front of you, hands on mat behind you. Lean back slightly onto fingertips for balance and lift legs two inches off floor. Keeping core tight, twist at the waist and bring bent knees toward chest, then extend back out (don’t drop legs to mat). Twist to the other side and repeat. Continue alternating.
Sit-Up to Stand Up

Share on Pinterest
EDITOR’S PICK{{displayTitle}}This is a classic Mayweather move that’ll challenge your entire body. Grab a partner (or just use the base of a couch, dresser, or heavy object to lock down your feet). Start lying faceup on mat, knees bent, feet flat on the floor in front of you with partner anchoring feet. Engage core, perform a sit-up, and continue to come all the way up to standing, reaching arms overhead. Slowly reverse the movement back down to return to starting position. Repeat. Make it harder: Add a set of dumbbells.

EDITOR’S PICK{{displayTitle}}This is a classic Mayweather move that’ll challenge your entire body. Grab a partner (or just use the base of a couch, dresser, or heavy object to lock down your feet). Start lying faceup on mat, knees bent, feet flat on the floor in front of you with partner anchoring feet. Engage core, perform a sit-up, and continue to come all the way up to standing, reaching arms overhead. Slowly reverse the movement back down to return to starting position. Repeat. Make it harder: Add a set of dumbbells.
Share on Pinterest
Photography: Julia Hembree
Special thanks to Gotham Gym NYC and our model, Tatiana Firpo, Gotham group fitness manager and trainer.
Photography: Julia Hembree
Special thanks to Gotham Gym NYC and our model, Tatiana Firpo, Gotham group fitness manager and trainer.